How to Swap Out That GMC Envoy Old Power Steering Pump
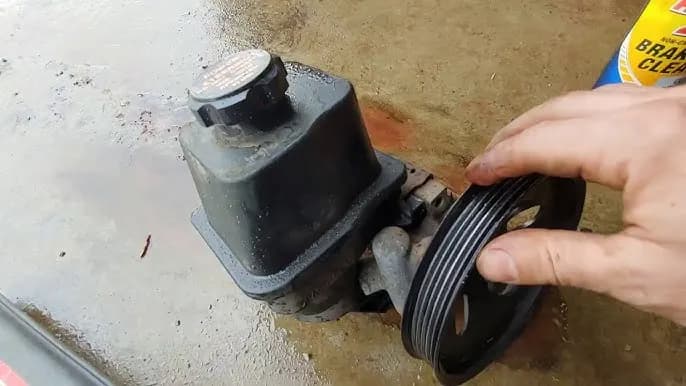
If you’ve ever heard that telltale whine coming from under the hood of your trusty GMC Envoy, you know it’s never a good sign. More than likely, that noise is coming from your tired old power steering pump that’s seen better days. No need to panic though: replacing the power steering pump yourself is an entirely doable weekend project for any DIY mechanic.
This guide walks through the whole process step by step, using simple language and basic tools, so any DIY mechanic can swap out that pump and get back on the road without spending too much cash. Here’s what to gather before getting started.
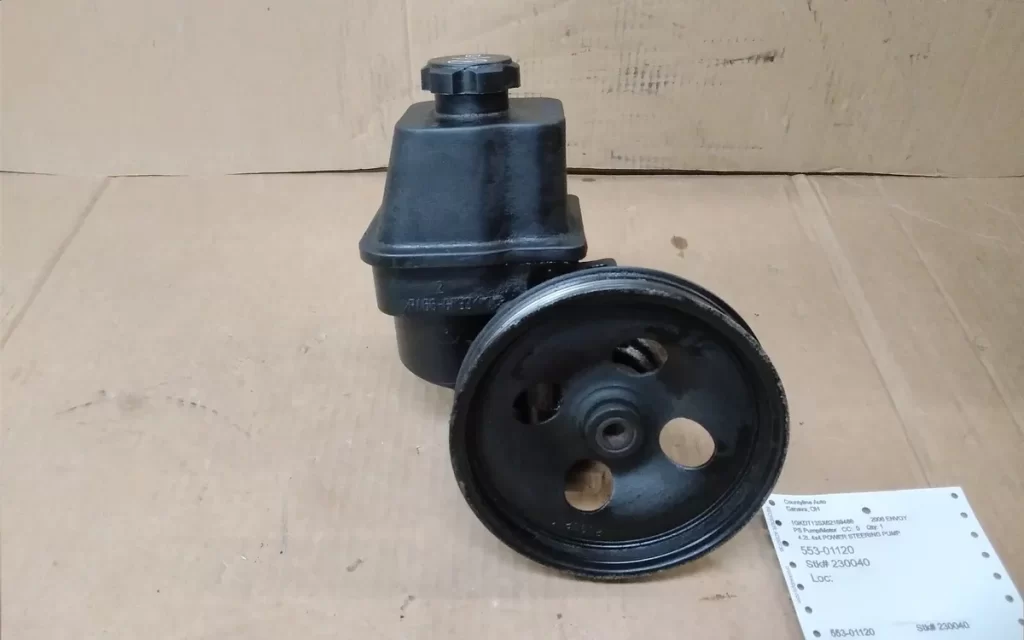
Gather Your Tools and Parts
A whine from the power steering pump usually means it’s time for a swap. Before starting, gather what’s needed. For tools, that means a socket set, wrenches in various sizes, pliers, a jack and jack stands.
Safety glasses are a must for this job too. As for parts, a new power steering pump is required, of course. It’s also worth picking up a new drive belt and power steering fluid while everything is already apart, plus some rags to catch spills and keep hands from getting slippery under the hood.
Jack Up the Front End
Once your gear is together, it’s time to get started. Park your Envoy on a level surface and engage the parking brake. Then jack up the front end and secure it on jack stands for clearance to work underneath.
Place the jack under the frame rails or lifting points, not the control arms, and raise it just enough to take the weight off the tires. Then slide jack stands in place before lowering the vehicle the rest of the way. This safety step matters: a vehicle that shifts on the stands can cause serious injury during the job.
Remove Drive Belt and Pulleys
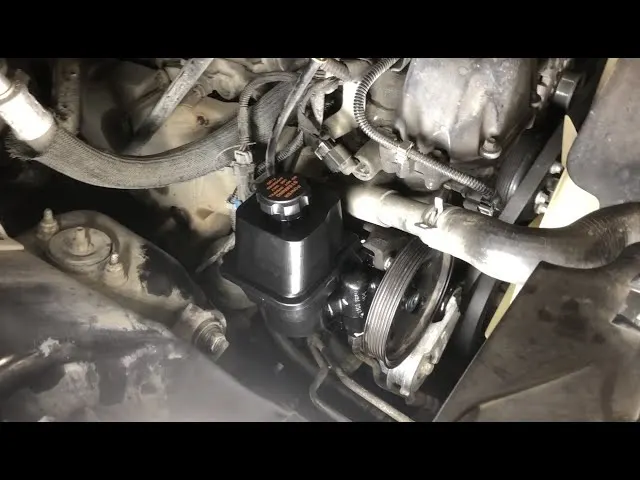
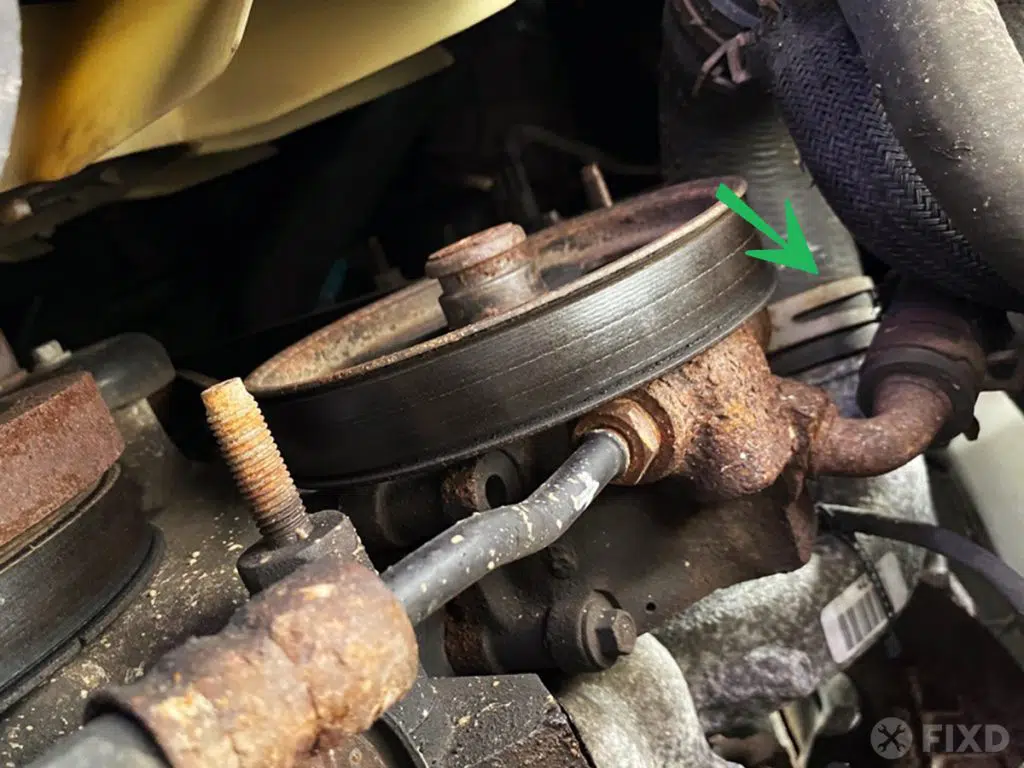
Now crawl under there and locate the power steering pump which is mounted on the engine block, driven by the serpentine drive belt. You’ll need to loosen the tension on the belt before removing it, so find the tensioner pulley and give it a good hard twist with a breaker bar in the direction of loosening.
Once the belt is slack, you can slip it off the various pulleys. Mark the pulley rotation direction with a paint pen too, to ensure correct reinstallation. With the belt out of the way, remove any mounting bolts securing the power steering pump pulleys.
Drain Fluid and Disconnect Lines
With the belt out of the way, it’s time to get the old pump out. Use an open-ended wrench to loosen the steel lines where they connect to the pump. Have a drain pan ready underneath to catch the draining power steering fluid.
Once drained, fully disconnect the lines from the pump. You may need to wiggle them a bit if they’re stuck on there good. Wear gloves so you don’t get that stinky fluid everywhere. With the lines detached, all that’s left are the mounting bolts securing the pump itself.
Remove Old Power Steering Pump and Install New One
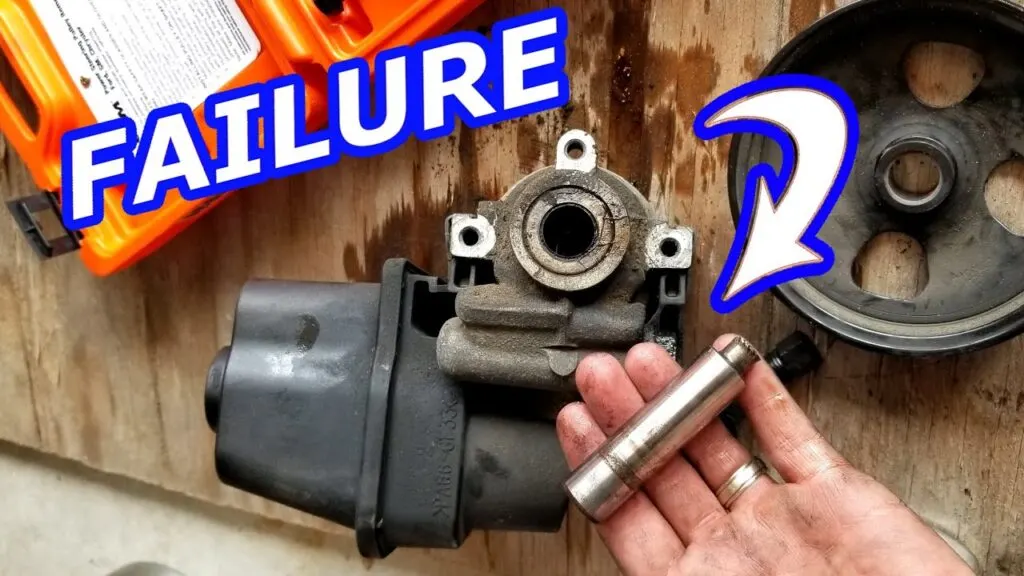
A ratchet and socket should make quick work of those mounting bolts. Grab a friend to help lift the old pump out once they’re loose. Now’s a good time to inspect the pump shaft and housing for wear or damage before installing the new one.
Clean any gunk off the mounting surface too. Then it’s just a reversal of the removal process. Position the new power steering pump and start the mounting bolts by hand before tightening. Reconnect the lines, refill with fresh power steering fluid, and belt back on in the proper rotation.
Bleed Air From the System
The final step is bleeding the air out of the system. With the engine off, turn the steering wheel lock to lock several times. Then start the engine and continue turning the wheel while an assistant watches the fluid reservoir for air bubbles.
Top it off as needed. Once you no longer see bubbles, you’re good to go! Just double check no leaks developed during reassembly and you’re all set. Fire it up and give that steering a test drive to break in the new pump.
Common Problems to Watch For
Most power steering pumps simply wear out with age, but a few other issues can cause premature failure. A belt in good condition, without cracks or fraying, matters too: a slipping belt puts extra strain on internal components.
It’s also worth checking for leaks in hoses, fittings or the reservoir that could introduce air into the system. Keeping fresh fluid is important, since old dirty fluid is a pump’s worst enemy. With any luck, a new pump should last another 10 years without issues.
Final Thought
That covers how to swap an old power steering pump like a pro. As long as each step gets the time it needs, this job is definitely doable in a home driveway. Drive safe out there, and don’t forget to check fluid levels regularly.
FAQ
Do I need to flush the old fluid?
It’s always a good idea to flush out the old fluid when replacing the power steering pump. Any debris or contaminants left over could damage the new pump. Plan to flush the system thoroughly and refill with fresh fluid.
The belt looks good, do I still need to replace it?
Even if the belt doesn’t appear cracked, once you have it off it’s a good idea to replace it. Belts stretch with age and can slip more easily on the pulleys. For not much money you can ensure everything is in good condition.
Can I turn the wheels while filling the reservoir?
Yes, it’s important to turn the wheels fully left and right while filling to help bleed any air trapped in the system. Have an assistant watch for bubbles in the reservoir and top it off as needed until you see no more air escaping.
How long will this job take me?
For an experienced DIYer, you can expect this power steering pump replacement to take 2-3 hours. Going slow and double checking all connections will help ensure a smooth installation.
What are some signs the pump is failing?
In addition to noise, some signs are increased effort to turn the wheels, fluid leaks, or a pump that runs hot to the touch. You may also notice intermittent or complete loss of power assist. It’s best to catch it early before more serious damage occurs.
Safety note: This guide is for general informational purposes. Brake systems are safety-critical — if you're unsure at any step, or the work requires specialized tools, have it inspected or completed by a qualified technician.
Related Guides
 Gmc Brakes
Gmc Envoy Third Brake Light Moulding
The Gmc Envoy third brake light moulding is an often overlooked part of the vehicle that can really bring your ride’s rear end together.
 Gmc Brakes
GMC Envoy Third Brake Light Moulding
If you’ve spotted the third brake light moulding on your GMC Envoy, the good news is that it’s easy to remove it. To remove the third brake light, you’ll need a flat screwdriver. You can use it to pry on the wiper base to free it. Once the wiper is out, the third brake light […]
2002 GMC Envoy Third Brake Light Moulding Replacement
If you’re driving a 2002 GMC Envoy, you’ve probably noticed that your third brake light doesn’t have a moulding. If this is the case, you’re likely worried about a short circuit that could occur when the moulding isn’t present. Fortunately, there are some easy steps to take to replace the missing mo