GMC Terrain Brake Reset After Rotor Replacement
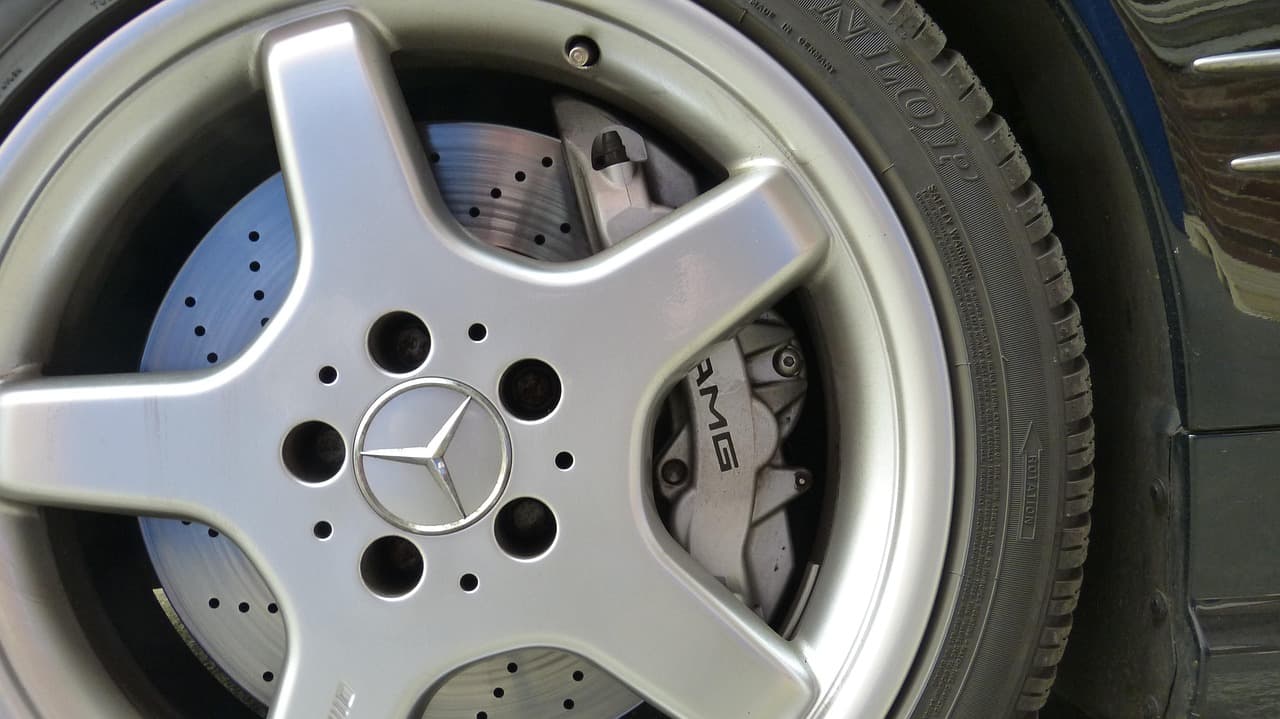
Whether a GMC Terrain needs a brake reset after a rear rotor job depends on which generation it is. First-generation Terrains (2010-2017) use a conventional lever-actuated parking brake, so pulling the rear rotors is a mechanical job with no electronic reset involved. Second-generation Terrains (2018 and newer) switched to an electronic parking brake (EPB) that clamps the rear calipers with a small motor, and that motor has to be backed off into a service mode before the rotors will come free, then reset once the job is done.
Does the Terrain Use an Electronic Parking Brake?
It depends on the model year. If the center console has a small switch labeled "P" or a brake icon instead of a foot pedal or hand lever between the seats, the Terrain has an EPB and this guide applies. If there's a traditional lever or foot-operated parking brake, the vehicle uses a cable system, and rear rotor replacement is a straightforward mechanical job that doesn't need any electronic reset. Trim and market variations exist, so if you're not sure which system is in your vehicle, check the owner's manual or look at the console before starting the job.
Why Service Mode Matters for Rotor Replacement
On EPB-equipped Terrains, the rear caliper piston is held in place by an electric actuator rather than just hydraulic pressure. That actuator keeps the piston clamped even with the brakes "released," which is fine for daily driving but a problem when you need to pull a rotor. Trying to force the caliper off or compress the piston with a C-clamp while the actuator is still engaged can strip the motor or damage the caliper internals, turning a rotor job into a much more expensive repair. Service mode tells the module to retract the actuator and hold it there so the caliper comes off cleanly. This is the same reason the step exists on the 2019 GMC Acadia, which shares a similar EPB design.
Resetting After Rotor Replacement
Entering Service Mode
Most 2018-and-newer GM crossovers built with this EPB system share a similar approach to entering service mode, though exact menu wording and switch timing can vary by model year:
Scan tool method: Connect a scan tool with bidirectional control on the brake control module, navigate to the EPB or parking brake menu, and select the service mode or caliper retract function. This is the more consistent method and what most shops rely on for EPB work.
Manual switch method: Without a scan tool, the general sequence for this generation of GM electronic parking brake is:
- Park on level ground and chock the wheels.
- Turn the ignition to ON/RUN with the engine off.
- Shift into PARK.
- Press and hold the brake pedal down through the next steps.
- Press and hold the EPB switch until the parking brake lamp on the instrument cluster starts flashing.
- Release the switch, then immediately press and release it again.
- Release the brake pedal. The system should now be in service mode, with the actuators retracted.
If your Terrain's switch doesn't respond the same way, follow whatever sequence the owner's manual describes for your specific model year rather than assuming this pattern applies exactly.
Removing and Reinstalling the Rotor
With the actuator retracted, remove the wheel, unbolt the caliper and bracket, and support the caliper so it isn't hanging by the brake line. Any retaining screws holding the rotor to the hub need to come out before the rotor will slide free; a seized retaining screw is a common holdup on rotor jobs, and the rotor retaining screws themselves are worth inspecting for corrosion while everything is apart. Clean the hub face before installing the new rotor so it seats flat, then reinstall the caliper bracket and caliper, torquing hardware to spec.
Exiting Service Mode
Once the new rotor and caliper are back together, the EPB needs to come out of service mode so the actuator recalibrates and returns to normal clamping. With a scan tool, there's typically a matching "exit service mode" or "apply" command; select it and let the tool confirm the calipers return to position. Without a scan tool, cycling the ignition off and back on, or driving the vehicle a short distance, is generally enough for the system to exit service mode and reapply the parking brake automatically. Before driving normally, confirm the parking brake engages and releases from the switch and that the dash lamp turns off.
If the Warning Light Stays On
A parking brake lamp that won't clear after the reset usually points to one of a few common causes. Low battery voltage can interrupt the actuator's retract or reapply cycle partway through, so a weak or undercharged battery is worth ruling out first. Stored diagnostic trouble codes on the brake control module can also block service mode from completing, which typically requires a scan tool to clear. If the manual switch sequence won't cooperate at all, pulling and reseating the EPB fuse has resolved it on some GM vehicles, though a system that stays unresponsive afterward is a sign to involve a technician rather than keep experimenting with switch timing. The reset process follows a similar pattern to what's documented for the GMC Yukon after pad replacement, since both use comparable EPB control logic.
Frequently Asked Questions
Does every GMC Terrain need a brake reset after rotor replacement?
No. Only second-generation Terrains (2018 and newer) with an electronic parking brake need the service mode and reset procedure. First-generation Terrains (2010-2017) use a conventional lever parking brake, and rotor replacement on those is a standard mechanical job.
Can I replace the rear rotors without putting the EPB in service mode?
It's not recommended. With the actuator still engaged, the caliper piston stays clamped, and forcing it back can damage the motor or caliper, which costs more to fix than the rotor job itself.
Is a scan tool required to reset the Terrain's parking brake?
Not necessarily. Many Terrains allow the manual switch sequence as an alternative, but a scan tool is generally more reliable and is what most shops default to, especially if the manual sequence doesn't cooperate on the first try.
What if the parking brake won't release after the rotors are installed?
Try cycling the ignition and driving the vehicle a short distance first, since that's often enough for the system to exit service mode on its own. If the warning lamp stays lit after that, check for stored trouble codes with a scan tool rather than continuing to drive with an unresolved warning.
Safety note: This guide is for general informational purposes. Brake systems are safety-critical — if you're unsure at any step, or the work requires specialized tools, have it inspected or completed by a qualified technician.
Related Guides
 Sierra
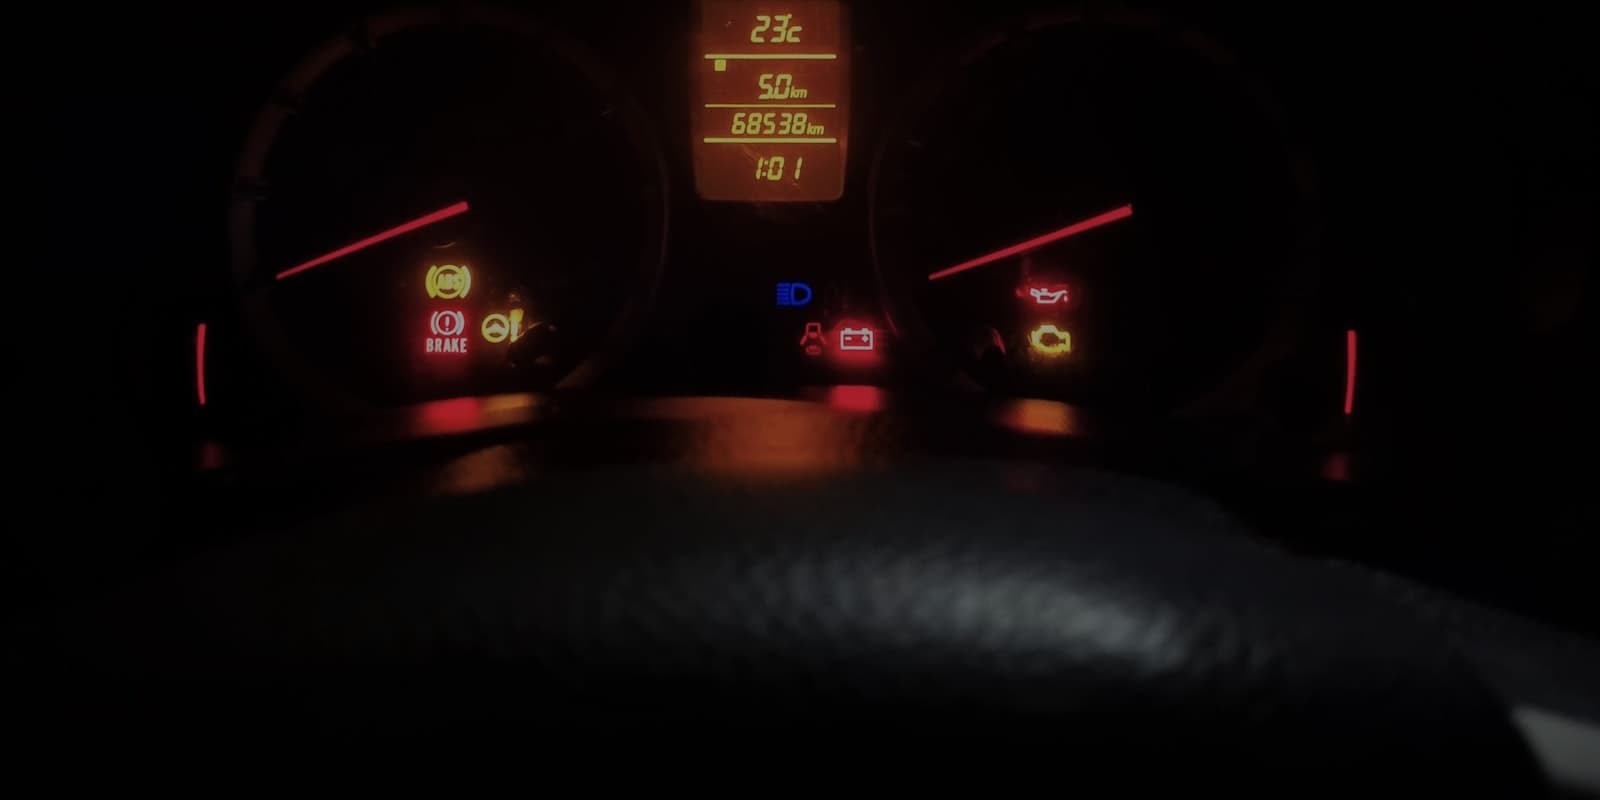
Why Won't My GMC Sierra's Brake Warning Light Turn Off?
If your Sierra's brake pads and fluid both check out fine but the warning light stays lit, the cause is usually a stuck parking brake switch, a faulty fluid level sensor, or an electrical fault rather than the brakes themselves. Here's how to narrow it down.
 Sierra
How to Bleed ABS Brakes on a GMC Sierra
Standard two-person bleeding can leave air trapped inside the ABS modulator itself, which is why some Sierras keep a soft pedal even after a textbook bleed. Here's when that happens and how a scan tool-driven ABS bleed clears it.
 Yukon
YukonGMC Yukon Parking Brake Reset After Pad Replacement
Yukons built with an electronic parking brake need that system put into service mode before the rear pads come off, then reset once the new pads are in. Here's how the process works and what to check if it doesn't reset cleanly.